How To Clean A Leather Sofa At Home
Share
Leather sofas can be an expensive investment, and it's essential to keep them looking their best to ensure they last for years to come. Regular cleaning and maintenance can help prevent dirt, stains, and other damages that can deteriorate the leather. However, many people avoid cleaning their leather sofas due to fear of damaging the material. Cleaning a leather sofa is not as complicated as you may think. This blog will guide you on how to clean your leather sofas at home effectively.
Step 1: Check the type of leather
Before you start cleaning, it's crucial to check the type of leather used on your sofa. There are various types of leather, and each requires a different cleaning method. Check the manufacturer's tag or manual to identify the type of leather.
Step 2: Vacuum the sofa
Dirt and dust can accumulate on your leather sofa over time. This will make it look dull and dirty. Use a vacuum cleaner with a soft brush attachment to remove any dirt, dust, or debris from the sofa. Make sure you clean the crevices and seams thoroughly.
Step 3: Choose the right cleaning solution
For cleaning leather sofas, it's essential to use a mild cleaning product that is specifically designed for leather. At Jaspers we have in store our ‘Caring for Leather Upholstery’ kits, which contain high performance products designed to keep the appearance of your leather upholstery. Avoid using harsh chemicals or soap, as they can damage the leather. You can purchase a leather cleaner from a hardware store or online. Alternatively, you can make your own cleaning solution by mixing equal parts of water and vinegar.
Step 4: Test the cleaning solution
Before you start cleaning the entire sofa, it's essential to test the cleaning solution on a small, inconspicuous area to ensure it doesn't damage the leather. Apply a small amount of the cleaning solution on a cloth and rub it on a small area of the sofa. Wait for a few minutes, and if there is no discoloration or damage.
Step 5: Clean the sofa
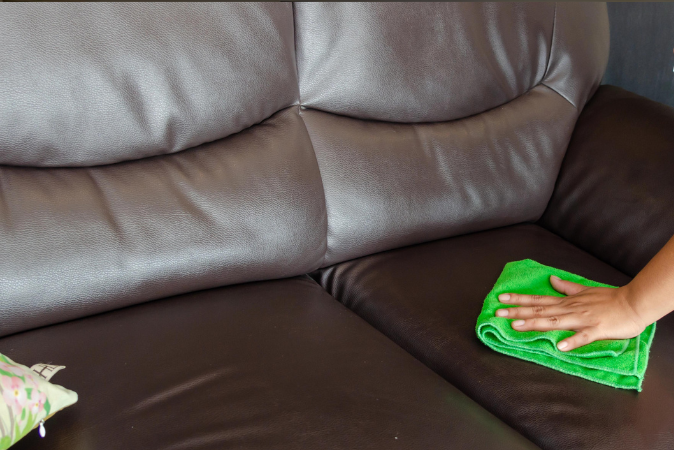
Dip a clean cloth or sponge into the cleaning solution and wring out any excess liquid. Gently rub the cloth or sponge on the leather surface in a circular motion, working from the top to the bottom. Avoid using too much liquid as it can cause damage to the leather.
Step 6: Rinse and dry the sofa
After cleaning the sofa, use a damp cloth to remove any remaining cleaning solution. Then, dry the sofa with a soft, clean cloth. Avoid using a hairdryer or any heat source to dry the sofa, as it can cause the leather to crack.
Step 7: Condition the leather
Leather can dry out over time, leading to cracks and other damages. To keep your leather sofa looking and feeling its best, it's essential to condition it regularly. Use a leather conditioner after cleaning to keep the leather soft and supple. Apply the conditioner in a thin, even layer and let it dry completely before using the sofa.
In conclusion, cleaning leather sofas at home is not as complicated as it may seem. With the right tools and cleaning solution, you can easily clean and maintain your leather sofa to ensure it lasts for years to come. Remember to vacuum the sofa regularly to make sure it does not go dull. Follow these simple steps, and your leather sofa will look as good as new for a long time.
